| Sponsors |
|---|
Olaf's Quest Guide
Difficulty: IntermediateLength: Short
Members only: Yes
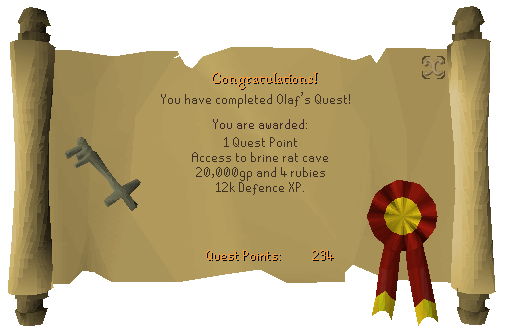
Reward:
- 1 quest point
- 20,000 Gold
- 4 Cut Rubies
- 12,000 Defence XP
- Access to the Brine Rat Caves
Start:
Talk to Olaf Hradson, who is near the entrance to the polar hunting grounds. (fairy ring DKS)
Needed skills:
- 50 Woodcutting
- 40 Firemaking
- Ability to kill a level 100 monster
- High Agility is recommended
Needed quests:
- The Fremennik Trails
Needed items:
- Woodcutting axe
- Tinderbox
- Spade
- Equipment to fight a level 100 monster
- Ability to teleport near Rellekka. (Fairy Rings DKS or Enchanted Lyre)
Walkthrough
Starting Out - Olaf's Ordeal
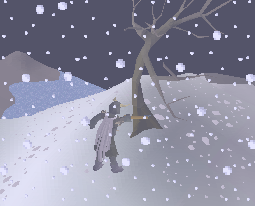
Talk to Olaf Hradson to start the quest. Olaf can be located near the entrance to the polar hunting grounds (north-east of Rellekka). When you first talk to him, he sounds rather depressed. As you are about to walk away, he asks you to do a favor for him. He tells you that their family is one of great navigators and explorers, and that he is pretty much a complete failure when compared to them. He explains that he has an idea that may convince his family that he, too, is good, and needs your help.
The Plan - Carving His Way to Fame
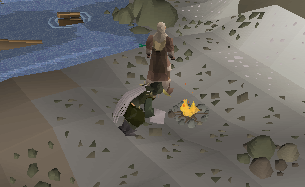
First, he tells you that he needs a log to create a good carving out of. Olaf tells you that he saw a good tree blow onto a nearby cliff, and that he wants some logs from it. Walk up the path just east of where Olaf is (near the fairy ring) and walk over to the windswept tree near the northern edge. Take your axe (assuming that you remembered it) and chop away.
Take your windswept logs back to Olaf. He will, err, carve some "wonderful" designs in the logs that you gave him. Olaf then wants you to take the carvings to his wife and son, who live in Rellekka.
Ingrid is just east of the great hall near the well. She will give you a loaf of bread for your trouble (keep this for later).
Volf can be found in the northern area of the town. After you talk to him and give him his carved-plank-thing, he will give you a cooked shark as a reward. How nice.
Fire, Food, and a Mysterious Map
After you return to Olaf, you will find that his fire went out and he is too cold and hopeless to do anything. He hands you some damp planks to make a fire out of. Use the planks on the fire.
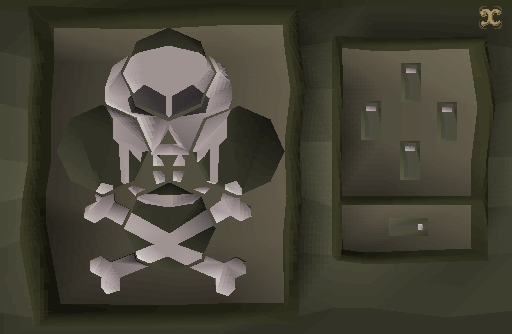
Once you have the fire going, talk to him again. This time he wants food! (sounds kind of familiar, no?) He will take the first food item in your inventory so it is advised to put the food you want to give him before (more top-left than) your other food. It is easiest to keep the loaf of bread that Ingrid gave you. In exchange for the food, he will give you the map that you have been itching to get your hands on for a few favors now (finally!). Upon being given the map, you will be informed that he thinks that the map is cursed. Now that you have the map, it is time to find where it leads to.
Here's what the map looks like:
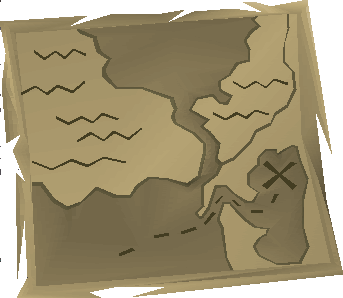
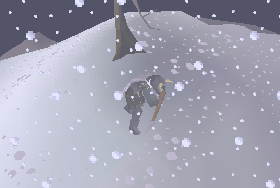
All you need to do to figure out what the map is pointing to is to look at the mini-map. Walk back up to the windswept tree and dig there.
Yet Another Dungeon!
Yikes! You will fall down into a cavern! If you need to get out, then you can walk over to the nearby boulder and push to reveal an exit. You will have to dig to get back in, though.
As you progress through the corridor, you will find that there are more than bats in this cave. Undead! That's right, undead. Just keep walking/running through, they are not too tough. Eventually you will come to a spooky door.
Dungeon Accomidations (AKA Puzzles)
That's right, a puzzle. (hey, there is at least one in every dungeon) Click on it to view an interface that is similar to this one:

The top lever controls the top and left pieces. The left lever controls the left and bottom pieces. The bottom lever controls the top and bottom pieces. The right lever controls the left and right pieces.
Pull the levers until you get the picture to the left to look like this one:
Once you get the picture to be like the above one, pull the lever that is by itself on the lower-right hand side of the interface. Click the door again to open it. Snag two barrels and six ropes from the spawns in the next room. Also, for those of you that have not killed some of those skeletons wandering around and grabbed the key that they drop, do so. Walk over near the water to where there is a small walk way with some holes in it. Use your barrels and ropes to fix it. This is where your agility comes into play. A higher level makes you less likely to fall off of the bridge and end up near Olaf. Use the key you found on the door and an interface like this will appear on the screen:
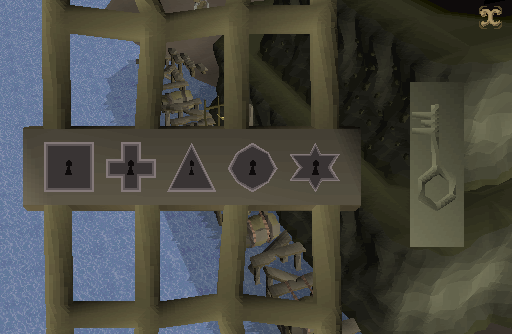
Click on the lock that is similar in shape to your key's end. Walk through and up to the wreckage in the next room.
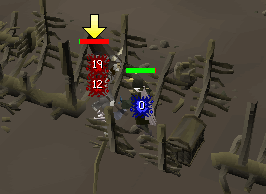
The Boss Fight and Treasure
Make sure you have your equipment to fight that big, bad level 100 monster on. Open the chest in the middle of the room and start beating apart Ulfric, a level 100 skeleton.
If you need to get back into the area with the wreckage, then you will need to kill a skeleton for another key.
The parchment you found in the chest is by Ulfric. It tells about other ships having more of the treasure. It also says that it is cursed. Figures.
This quest will unlock the ability to get Brine Rat assignments from slayer masters. Brine Rats have a chance to drop a Brine Sabre.
Guide credits
Last update: 07-Sep-2011 07:42 by Rebel007