| Sponsors |
|---|
The Curse of Arrav Quest Guide
Difficulty: MasterLength: Medium
Members only: Yes
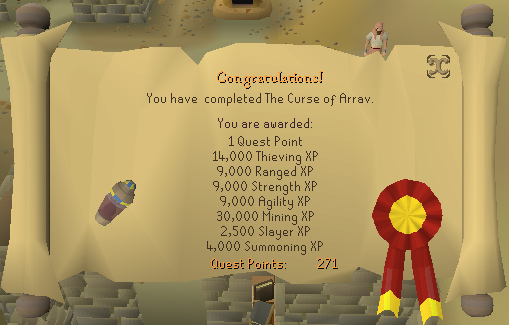
Reward:
- 1 quest point
- 30,000 Mining XP
- 14,000 Thieving XP
- 9,000 Ranged XP
- 9,000 Strength XP
- 9,000 Agility XP
- 4,000 Summoning XP
- 2,500 Slayer XP
- Two extra spins on the Squeal of Fortune.
Start:
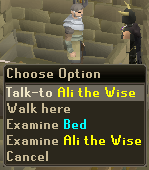
Speak to Ali the Wise in Nardah.
Needed skills:
Needed quests:
- Defender Of Varrock
- Shades of Mort'ton
- Troll Romance
- The Tale of the Muspah
- Missing My Mummy
Needed items:
- Pickaxe
- Sacred oil
- 3 Dwellberries
- Ring of life
- Macaw pouch or Ravenous Locust pouch
- Rope
- Mithril grapple
- Crossbow (Mithril or Higher)
- Insulated boots (purchased from Slayer masters)
Walkthrough
Part 1 - Mining
Head down to Nardah and speak to Ali the Wise in his house, and he will tell you of a tunnel atop Trollweiss mountain that leads to the Mahjarrat Ritual Area.
Make your way to Trollheim (Teleport, or walk from Burthorpe with a Games Necklace), climb down (up depending on your route) the mountain and head through the north-west part (next to the path to God Wars Dungeon). Enter the cave nearby, and run past the Ice trolls until you arrive at a crevasse.
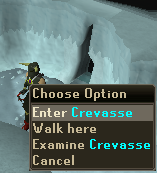
Enter it, and you will appear outside atop of Trollweiss Mountain. Make your way east, and enter the nearby cave.
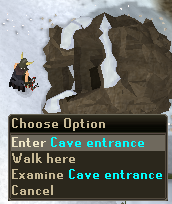
Inside the cave is a series of rocks that need to be mined in order to pass. Go through the eastern path and mine the smallest piece of rubble to pass through.
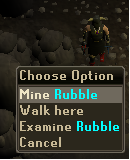
Continue around until you arrive at the next bit of small rubble and mine the two smallest pieces of rubble to clear the path. Continue on and pick up the stone tablet.
You now arrive at a more complex part of the cave that needs to be mined. An important note to remember about this puzzle, and coming ones, is that each rock needs to be mined from different sides to clear it (the number of sides is based on how big the rock is). You are also unable to mine the largest rubble.
Step 2 - More Mining and a visit from Arrav
To begin, mine the rubble in the bottom left corner twice from the two available different sides. Then, mine the topmost rubble on the first row. Mine the middle rubble on the first row from all three sides to clear it completely. Clear the next two pieces of rubble, and step into where the last one was. Mine the rubble to the north, and it will cause the rubble pile to shift, opening up access to another piece of rubble. Step into the open space and mine the rubble directly north to clear it. Mine all three rubble surrounding you, then mine the western-most rubble from the west side. Next, mine the rubble in the upper left corner, and the one next to it. The rest should be fairly easy to understand and clear. Pick up the Granite tablet and read.
Continue on to pick up the Slate tablet and read it.
Head down the south path, and mine both bits of rubble. One of them will shift, allowing you to mine the other from another side to partially clear it. Walk back up north to where you found the Slate tablet and head east to another cave-in.
Mine the four smaller pieces of rubble each; the third from the top will shift, allowing you to clear the row of rubble. Clear the two small bits of rubble on the second row. Mine the two bits of rubble on the third row, then mine the bottom-most rubble on the second row to clear it. Step into that spot and mine the rubble directly east, causing it to shift again. Clear the two small rubble on the third row. Mine the rubble on the fourth row from two sides to clear it. Clear the last piece of rubble to pass through the cave-in.
Head down the south path and pick up the Shale tablet and read it.
Now, mine all the rubble you can from the west side. Swing back around and come in from the north side again and continue mining all the rubble you can. Loop around the third path to the left, and mine the rubble until you have cleared the path. You should arrive on the south side of the third cave-in. Mining one of the rubble will cause it to shift, opening up the two small rubble. The rest is straightforward. Continue mining until you arrive in a small cellar room.
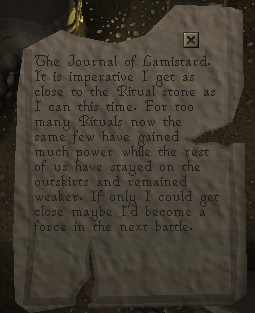
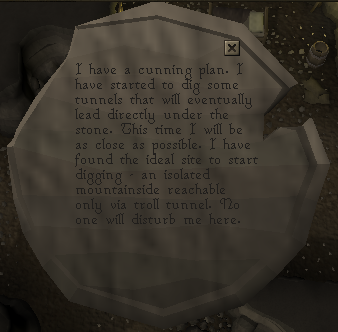
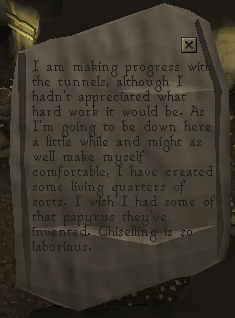
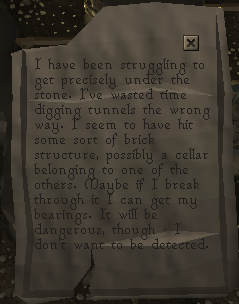
Search each of the bookcases until you get some notes (these aren't needed during the quest but are an interesting read). Climb up the stairs and talk to Arrav. Still under the control of Zamouregal, he is forced to attack you, but partway through the battle, he will leave.
Before he leaves however, he tells you to search behind a flame tapestry, which will help you both. Go inside the southern room and search the tapestry. You will receive a set of plans and a key to Zamouregal's base.
Study the plans, and a message will appear suggesting you speak to Ali the Wise to interpret them.
Step 3 - How to save a heart
Head back to Nardah and speak to Ali the Wise in his house. He will read the plans, beggining a cutscene, showing the interior of Zamouregal's base. Various security measures such as human detection spells, electrical surges, patrolling zombies, and fire traps show quite a difficult task. You will also see the heart of Arrav, under a dome, and under the control of Zamouregal, heavily guarded by the security measures.
Ali the Wise will then say that the hardest part of this mission is to keep Arrav's heart alive, in order to keep Arrav himself alive. You then suggest that the Pharaoh Queen Senliten (restored during Missing my Mummy) may know how to keep a heart preserved.
Head over to Uzer and continue south until you reach the Pharaoh Queen's tomb, and enter it. Make your way to Senliten the same way you did in the previous quest (beware of the puzzle floor that you'll have to pass, as it will still damage you). Speak to Senliten (note that you must have restored her to 100%) and tell her of your problem.
After quite a talk, she will give you a Canopic jar, and instruct you to fill it with Sacred oil, 3 Dwellberries, and a Ring of life.
Add the ingredients into the jar in that order and return to Ali the Wise.
Ali will then suggest that you wear insulating protection, and have something that will allow you to view areas remotely. You will also need a rope, grapple hook and crossbow. Obtain a Macaw pouch or Ravenous Locust Pouch, Insulated boots (from a Slayer master), Rope, Mithril grapple, and a Crossbow. Make sure you have the base key before you attempt to enter Zamouregal's base.
Part 4 - Collecting a Heart
Make your way north of Varrock through the wild to the Chaos Temple and enter the dungeon behind the altar. Since this quest was released the Wilderness has been reinstated and as such you may wish to speak with Hartwin on the top floor of Varrock castle who will offer you safe passage to the Chaos altar.
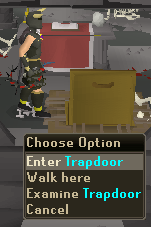
Run past the Armoured zombies until you reach a metal door. Open the door with your base key and continue through to the kitchen, making sure to avoid the human detection spells at all costs. Wear your insulated boots and enter the pipe (Northern Wall); note that failure to wear the boots will result in an electric shock and being dealt approximately 130 damage.
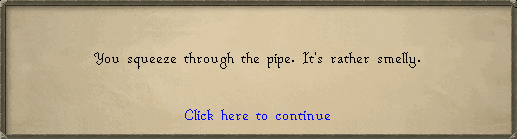
Make your way through the sewer to the other end (ignoring the trapped beast), summon a Macaw or Ravenous Locust, interact with it, and select the Remote-view option. You automatically squeeze in through the pipe and appear at the other side. If choosing Remote-view does not work for any reason, simply squeeze into the pipe whilst having your familiar out.

You only have five minutes for the next series of steps, so stay calm and dont try rush. You can enter the room to the south and wait for the next 5 minute window. Once in the south room, search the tables until you get the decoder strips.

Pick-lock the chest in the same room to receive an Access code. This access code has four letters on it, randomized for all players. If your code is ABCD, the number on the strips refers to that order: 1-A, 2-B, etc. If you find that a letter has been repeated, you remove the strip and continue to the next letter code.
Now, operate the keypad, and move the strips until they are placed above the corresponding letter to your access code. To move the strips, click on the strip and use the arrows located above the strips to move them in the direction you require. The cutout hole will reveal the number that needs to be entered. Keep doing this for each letter until you have found the four-number code, then enter the code, and the door will be unlocked. Open the door and enter the heart room.
Once inside, equip your crossbow and the mithril grapple, then grapple the pipes above you. Cross over to the other side and use the Canopic jar on the pedestal to receive the heart of Arrav. Once you have the heart, leave the base, and return to Ali the Wise in Nardah. He will inform you that he will work out a plan to free Arrav, and reward you for your help.
Guide credits
Special thanks: Night_Elf45
Last update: 14-Aug-2012 05:23 by Mike