| Sponsors |
|---|
A Void Dance Quest Guide
Difficulty: ExperiencedLength: Medium
Members only: Yes
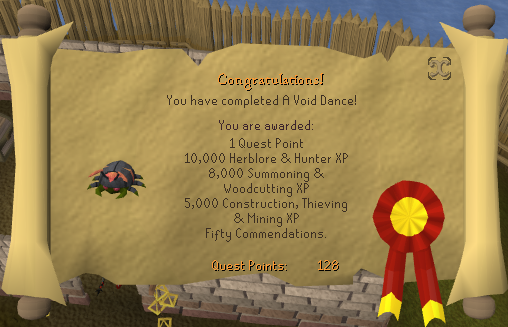
Reward:
- 1 quest point
- 50 Void Knight commendation points
- 10,000 Hunter XP
- 10,000 Herblore XP
- 8,000 Summoning and Woodcutting XP
- 5,000 Thieving, Construction and Mining XP
- Two extra spins on the Squeal of Fortune.
Start:
Speak to Commodore Tyr at the Voids Knight Post
Needed skills:
- 46 Hunter
- 47 Construction
- 47 Mining
- 48 Summoning
- 49 Herblore
- 52 Woodcutting
- 54 Thieving
Needed quests:
Needed items:
Recommended items
- Ability to defeat a level 110 opponent
- Food for combat
- Explorer's Ring (3) for Cabbage-Port
Walkthrough
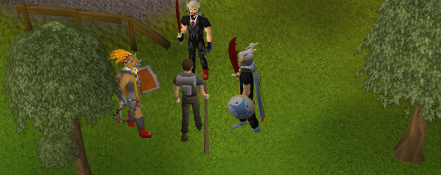
1. To start the quest, you need to speak to Commodore Tyr at the Voids Knight Outpost. He will explain to you how they were unable to track down the escaped pest. He will ask you if you are willing to help Korsai and Jessika to track and find the escaped pest.
2. You'll need to now take the boat from the Voids Knight Outpost to Port Sarim to meet up with Korsai and Jessika. Speak with them and they'll explain that they need you to search around the town and track the pest.
3. After speaking with Korsai and Jessika, head over to Captain Tobias and speak with him. He'll explain to you how he is recovering from his last trip to Karamja. He will also tell you that the fishmonger was complaining about his fish barrels being damaged.
4. Head into the Fishing shop right next to the docks and speak to Gerrant. He will tell you that the pest may of left a track outside of his shop.
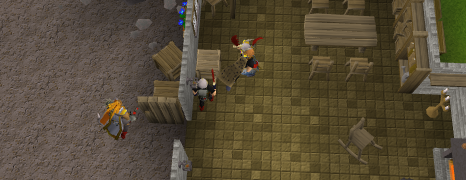
5. Outside of the shop, you'll see some tracks leading from the docks.
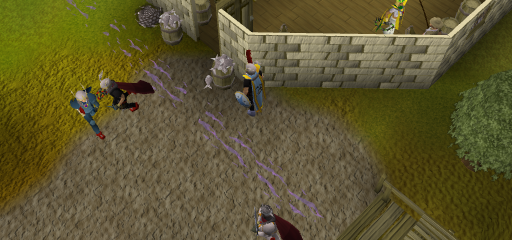
You'll need to search around the shop and use the "Search" option on the rocks and plants nearby. Your track should lead you around the Magic shop and to the nearby tavern. Once you follow the tracks, you'll see a mound coming from the wall of the tavern.

6. After searching the mound, you'll need to report back to Korsai and Jessika. They will ask you to go talk to the bartender to gain access to the bar's basement.
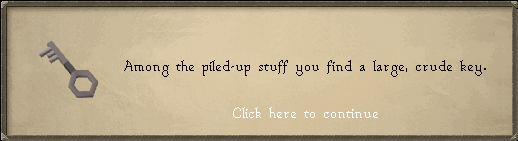
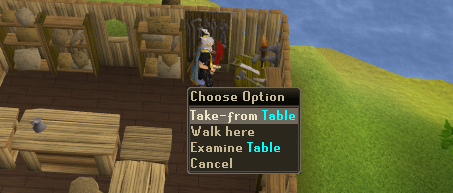
7. When you speak to the Bartender, he will tell you how he's been sick. You'll explain to him how a dangerous pest has been in his cellar, and that you need to investigate it. The bartender will say that you can go on ahead, but you'll need to find the missing key to it.
Search the floor of the bar for the key.
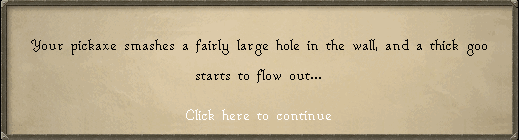
8. When you enter the cellar, you'll see a Suspicious-looking wall. Inspect it and you will noticed the crack. Use your pickaxe that you brought with the wall, and you will create a hole.
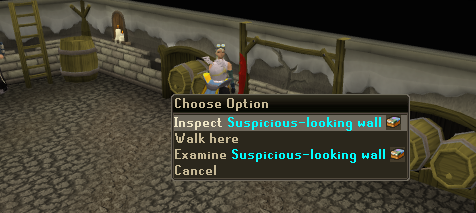
After making the hole, you'll see some thick goo start pouring out.
9. Jessika will ask you to go into the storeroom to find some container to fill up with the pouring goo. Head to the storeroom, and you'll find yourself into a puzzle
10. After you solve the puzzle, you will need to tell the Bartender the truth. He should take it easily, then report back to Korsai and Jessika near the dock. Then you'll be asked to go to Musa Point in Karamja since the sailors were ill coming from there. You can either teleport to Karamja with a Glory Amulet or take the boat for 30gp.
Searching For Answers
11. Once you arrive, you'll be asked to look around and speak with the nearby bartender if he has seen anything.
12. The bartender will say that Kofi had a scare of some sort of animal that damaged his wall. You'll need to head west to Karamja's general store. Once you start speaking with him, he'll say that he is incredibly ill but he had seen some form of monster that damaged his wall. He'll want a favor in return for the information on the pest.
13. You'll need to gather some tools, which can be found inside the shop.
You'll need to use the chisel with the logs you have, then combine it with the plank. Then use it with the collapsed wall and you'll fix it.
14. After Kofi explains to you what he saw, you'll need to track down the pest once again in Karamja. Follow the tracks into the bannana plantation and inspect the mound.
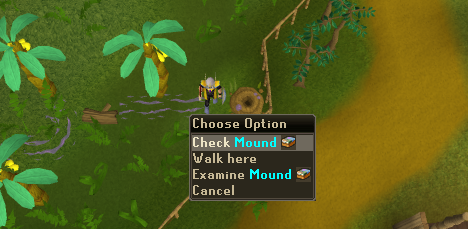
You will find some broken sharks of wood. You'll be asked to go to Rimmington to visit Rommik in the crafting store.
15. When you speak with Rommik, he'll explain to you the order that the boxes were sent to.
16. Now return to Korsai and Jessika with the Chemist home west of the crafting shop. You'll need to analyze the material in the next puzzle.
Puzzles and Clues
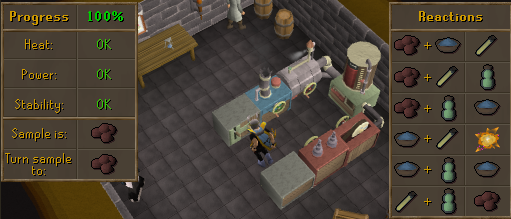
17. Now I suggest you listen to the direction, as this is a very difficult puzzle if you don't focus. You'll need to keep the power and heat at OK and you'll be fine. To the right, there is a Reaction table. You'll need to turn the sample into a certain substance. By doing that, you'll need to combine the sample and which ever substance it needs to change it. Now continue doing this until you get 100% progress. If you fail to keep the Heat or Power stable, it'll blow up and you'll need to redo the puzzle. You need 16 open inventory spaces open for this puzzle
18. After completing the puzzle, you'll be told that what has been happening with Musa Point and Port Sarim were only small compared to what is happening in Falador. You, Korsai, and Jessika will all teleport into Falador park, to speak with Sir Tiffy.
19. You'll explain to Sir Tiffy of what has been happening, and he'll tell you about a vendor who just appeared behind Falador East bank. He wants you to go and inspect it since people were getting sick since then.
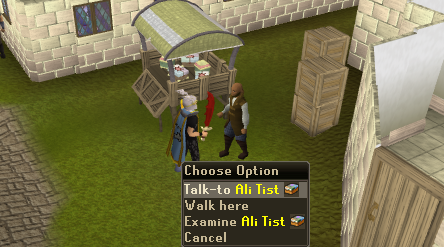
20. Head on over to Falador East Bank and speak with Ali Tist. He'll sell you a puzzle box. After receiving the box, head back over to the park and talk with Korsai.
21. While everyone gives a go at opening the box, You and Jessika will start to come up with ridiculous ideas to open the box. While you are doing this, Korsai will take the box and smash it with her sword.

22. Since you now know that Ali Tist is shipping out the goo, you need to get closer to his cart. But he won't allow you to search it. Sir Tiffy asks you to go to Sir Amik and get him to write you a warrent for Ali's cart. Head over to the White Knight's Castle and head upstairs to the 3rd floor. Talk to Sir Amik and he'll write one up for you.
23. Head back to Ali Tisk's cart and search it. He'll then explain how he just sells the boxes, not make them. He gives you a clue scroll that will lead you to the manufacturers of the boxes.
24. The first clue scroll will show this:
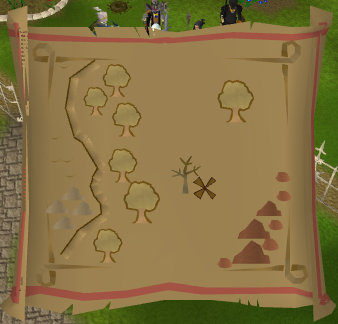
This isn't very far from Falador. Its right near the Dark Wizards Tower and the mining spot.
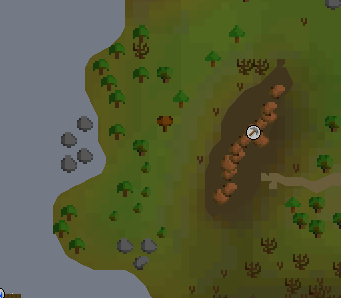
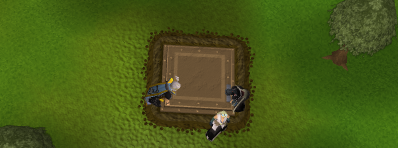
When you get there, make sure you have your spade, sextant, watch, and chart and dig right next to the hollow tree. You'll receive your next clue here.
25. Depending on what your clue is, you might have to do a different emotion for the man. Now you'll need to gather an onion near the crafting guild. You'll see a wandering man walking around. Use the onion on him, and depending the emote you were asked to do, choose it and he'll give you another clue scroll.
26. The third clue scroll will ask you to go to the Falador Farmhouse. If you have an explorer's ring (3), you can use the cabbage teleport to get here. If not, it isn't very far from the wandering man. You'll need to go inside the farmhouse, and right next to the door, there is a crate that you can search for the another clue.
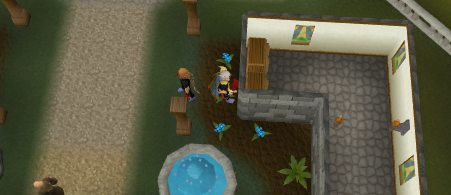
This clue will lead you to the Monastery near Edgeville. You'll need to dig in a spot surrounded by 3 blue flowers.
You will get a coordinates clue which will be: 11 degrees, 31 minutes north; 17 degrees, 54 minutes east.

This will lead you north of the Black Knights Fortress. You'll find a hatch that you'll need to open.
Breaking In
27. You'll find yourself into a delivery room. You'll see passing workers, so make sure your not in open or you'll get caught and kicked out of the room. Korsai will walk up to the door, only to figure out that you'll need a password to get in.
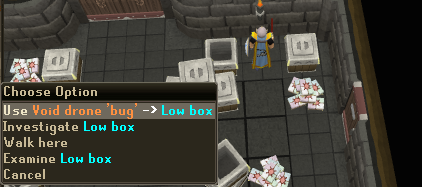
28. Jessika has an idea to summon a void drone bug, but she'll need you to place it near the door. The spider will listen in to the passing workers when they say the password.
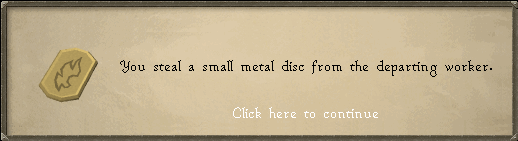
29. After the drone bug gets the password, you'll need to grab it and return it back to Jessika. When she speaks with the bug, she tells you that the password was "In Unity We Overwhelm". Jessika then goes up to the door, only to figure out that you'll need a insignia to get by also. This is where you pickpocket one of the workers who walk in and out. When you successfully pick-pocketed a worker, you'll get an insignia.
30. It is your turn to go to the gate. Since you have an insignia and the password, the gate keeper tries to trick you with a secret handshake, which you do not know. He says you passed the final trick and that you're allowed in. When the door is opened, Korsai runs in with you and attacks the black knight. You can either decide to kill him or tie him up, either of which will allow you to continue.
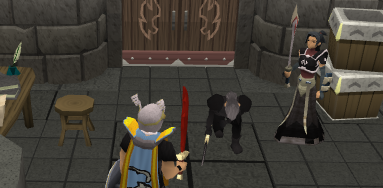
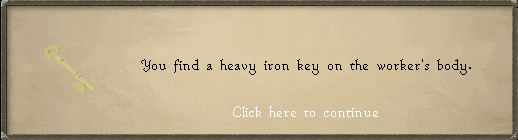
Now through the next door, you'll need to murder one of the employee's to gain a key to continue through the last door.
The Elite Black Gaurds
Before entering the last door, make sure you have the food and armour you want before you battle a Level 110 foe.
When you enter the final door, you'll see a pest locked up in a cage with two elite black guards in front of it. You'll will go into combat here.
Tips: draining your prayer before this point is suggested, as the guards can use your prayer to heal themselves. Food and Armour is highly suggested, bring along 15+ sharks for a high rate of success.
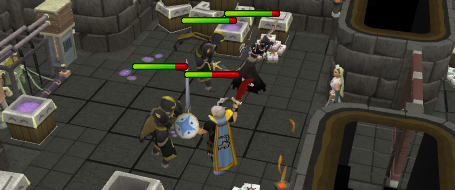
After you defeat the elite black guards, you'll need to talk to the Pest Cage. Here you are given the choices of releasing it, or putting it out of misery. Either of which, you'll be asked to return to Commodore Tyr at the Void Knights Outpost.

Finishing Up
You need to speak with Commodore Tyr and he'll thank you for another successful mission. You'll be granted with experience points in several skills and a commendation for 50 points to use for exchange at the voids knight outpost.
Guide credits
Special thanks: Call me Larry
Last update: 15-Aug-2012 16:32 by Aliensvortex